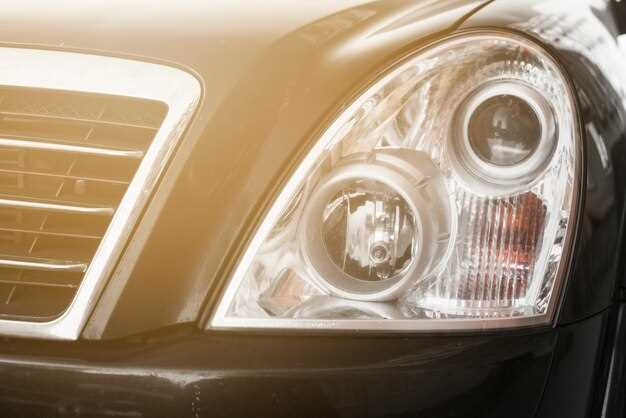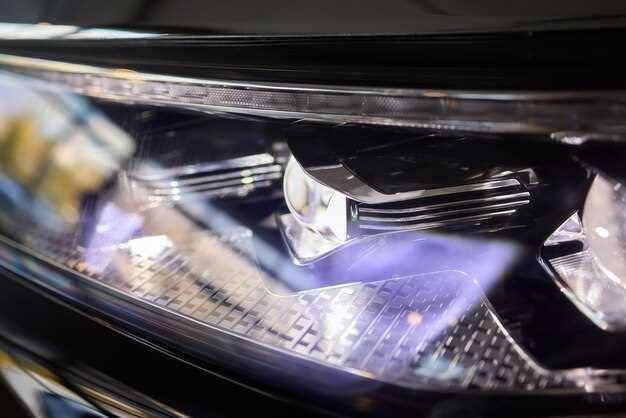
Replacing the headlights on your Toyota is an essential maintenance service that ensures optimal visibility and safety while driving. Over time, headlights can become dim, cloudy, or burnt out, compromising your ability to see the road clearly at night or in adverse weather conditions. Knowing how to properly replace these critical components can save you both time and money.
This article will provide you with a comprehensive guide on headlight replacement steps specific to various Toyota models. We’ll cover necessary tools, step-by-step instructions, and some valuable tips to help you execute the replacement successfully. Whether you’re a seasoned DIY enthusiast or a beginner looking to learn more, this guide will facilitate a straightforward approach to ensuring your headlights are in top condition.
In addition to the replacement steps, we’ll discuss common issues related to headlights, such as alignment and wiring problems. Understanding these elements will allow you to identify potential issues early and maintain the integrity of your vehicle’s lighting system. By following the tips outlined in this article, you can ensure your Toyota’s headlights provide the dependable illumination you need for safe travels.
Identifying the Right Headlight Bulb for Your Toyota Model

Choosing the correct headlight bulb for your Toyota model is crucial for ensuring optimal visibility and safety while driving at night. Each Toyota vehicle has specific requirements for headlight bulbs based on the model and year. Start by consulting your owner’s manual, which provides detailed information on the compatible bulb types and specifications.
Most Toyota models typically use either halogen, HID (High-Intensity Discharge), or LED bulbs. Halogen bulbs are the most common type, known for their cost-effectiveness and ease of replacement. If your Toyota utilizes HID or LED technology, you’ll need to consider additional factors like ballast compatibility and brightness levels.
To identify the exact bulb type, look for the bulb code printed on the base of the existing bulb. This alphanumeric code indicates the size and type of bulb required for your vehicle. If the bulb is damaged, you can take the old bulb to an automotive store for assistance, ensuring you get a replacement that matches your Toyota’s specifications.
Additionally, ensure that the wattage and voltage ratings on the replacement bulb match those specified for your vehicle. Installing a bulb with the wrong ratings can affect overall lighting performance and may lead to electrical issues. For superior results, consider using OEM (Original Equipment Manufacturer) bulbs, which are designed specifically for your Toyota model.
If you’re unsure or need help with installation, seeking assistance from a professional automotive service can save you time and ensure the job is done correctly. Proper headlight functionality is essential for road safety and visibility, making it vital to choose the correct bulb for your Toyota.
Step-by-Step Guide to Safely Replace Toyota Headlights

Replacing the headlights on your Toyota can enhance visibility and safety while driving. Here is a detailed guide to help you safely and effectively carry out the replacement process.
Step 1: Gather Necessary Tools
Before starting, ensure you have the following tools: a flat head screwdriver, a socket wrench, and a pair of gloves to protect your hands and the new headlights from oils.
Step 2: Turn Off the Engine
Ensure the vehicle is parked on a flat surface and the engine is turned off. Engage the parking brake to prevent any movement.
Step 3: Access the Headlight Assembly
Open the hood of your Toyota and locate the headlight assembly. Depending on the model, you may need to remove decorative covers or clamps to access the bulbs.
Step 4: Disconnect the Wiring Harness
Carefully unplug the wiring harness connected to the headlight bulb. Press the tab on the connector and gently pull it away.
Step 5: Remove the Old Headlight Bulb
Twist the headlight bulb counterclockwise to release it from the socket. Avoid touching the glass part of the new bulb to ensure longevity.
Step 6: Install the New Headlight Bulb
Insert the new bulb into the socket and twist it clockwise until secure. Make sure it is firmly in place to avoid any issues with alignment.
Step 7: Reconnect the Wiring Harness
Plug the wiring harness back into the new bulb. Ensure the connection is tight to maintain proper functionality.
Step 8: Test the Headlights
Before closing the hood, turn on your headlights to verify that the new bulb is functioning correctly. Check both low and high beams if applicable.
Step 9: Reassemble and Close the Hood
Replace any covers or clamps that were removed earlier, and close the hood securely. Make sure everything is in place and tidy.
Tips:
- Consult your vehicle’s manual for specific bulb types and any model-specific instructions.
- Work on one headlight at a time to avoid confusion when reconnecting wires.
- Dispose of old bulbs responsibly by taking them to a recycling center or hazardous waste facility.
By following these steps, you can successfully replace the headlights on your Toyota, ensuring safer driving at night or in adverse weather conditions.
Common Pitfalls and Maintenance Tips for Toyota Headlights
When replacing headlights on your Toyota, there are several common pitfalls to avoid to ensure a successful service. One of the most frequent mistakes is not consulting the owner’s manual for the correct bulb type. Different Toyota models utilize various bulb specifications, and using the wrong type can lead to improper fitment or even electrical issues.
Another common issue is neglecting to clean the headlight assembly. Over time, headlight lenses can become hazy or cloudy, significantly reducing light output. Regularly cleaning the lenses with a suitable cleaner can enhance visibility at night and prolong the life of the bulbs.
During installation, be cautious about handling the new bulbs. Oils from your skin can create hot spots on the bulb, leading to premature failure. Always use gloves or a clean cloth when installing new headlights to avoid this issue.
Additionally, it’s essential to aim the headlights correctly after replacement. Misaligned headlights can not only diminish visibility but also blind other drivers, posing a safety hazard. Follow the aiming procedures outlined in your Toyota’s service manual to ensure proper alignment.
Routine maintenance is key to keeping your Toyota headlights in top condition. Regularly inspect the headlights for any signs of condensation or moisture inside the assembly, as this can indicate a seal failure. If moisture is present, it’s crucial to replace the entire unit to prevent further electrical issues.
Lastly, consider upgrading your headlights to LED or HID options for improved brightness and longevity. These modern alternatives can provide better visibility and can be a worthy investment for a safer driving experience.
