

The exhaust system of your Toyota plays a critical role in maintaining performance while ensuring a quiet and comfortable driving experience. However, over time, certain components may wear out or sustain damage, leading to various issues, including unwanted noise. Understanding how to identify, diagnose, and repair these problems can save you time and money, while also helping you maintain the integrity of your vehicle.
In this repair guide, we will explore the common symptoms associated with exhaust system issues, focusing specifically on noise disturbances that signal a need for repair. Whether it’s a hissing leak or a loud rumble, recognizing these signs early on can prevent more extensive damage and costly repairs down the line.
By following our tips and advice, you can effectively address your Toyota’s exhaust system issues, ensuring it operates quietly and efficiently. Let’s dive into the world of exhaust system repairs and equip you with the knowledge necessary to keep your vehicle performing at its best.
Identifying Common Exhaust System Noises in Toyota Vehicles
Understanding the various sounds your Toyota’s exhaust system may produce is crucial for timely repair. An unusual noise often indicates a problem that requires attention. Here are some common exhaust system noises and what they might signify.
A hissing or sizzling sound, particularly upon startup, can suggest an exhaust leak. This noise typically occurs when exhaust gases escape through a small hole in the exhaust system, possibly due to rust or corrosion. It’s essential to address this issue promptly to prevent further damage and ensure your vehicle runs efficiently.
If you hear a loud rumbling noise while accelerating, this may indicate a damaged muffler or resonator. A failing muffler can lead to a decrease in performance and increased emissions. Regular checks and repairs can help maintain your Toyota’s exhaust efficiency.
Another common noise is a popping or backfiring sound, which might indicate a problem with the exhaust system’s joints or connections. This could be a sign of a loose or damaged exhaust pipe, which can cause unwanted air leaks and affect your vehicle’s performance. Immediate inspection and repair are recommended to maintain optimal function.
A high-pitched whistling noise might be related to a failing exhaust manifold or a damaged gasket. These issues can allow exhaust gases to escape prematurely, leading to decreased engine performance and increased noise levels. Repairing or replacing these components as needed is important for the longevity of your Toyota.
Being aware of these common exhaust system noises can help you identify potential issues before they escalate into costly repairs. Regular maintenance and prompt attention to unusual sounds will keep your Toyota’s exhaust system functioning correctly and ensure a smooth driving experience.
Step-by-Step Process for Repairing a Toyota Exhaust Leak
To effectively repair an exhaust leak in your Toyota, follow these detailed steps to restore proper function and eliminate unwanted noise.
Step 1: Identify the Leak
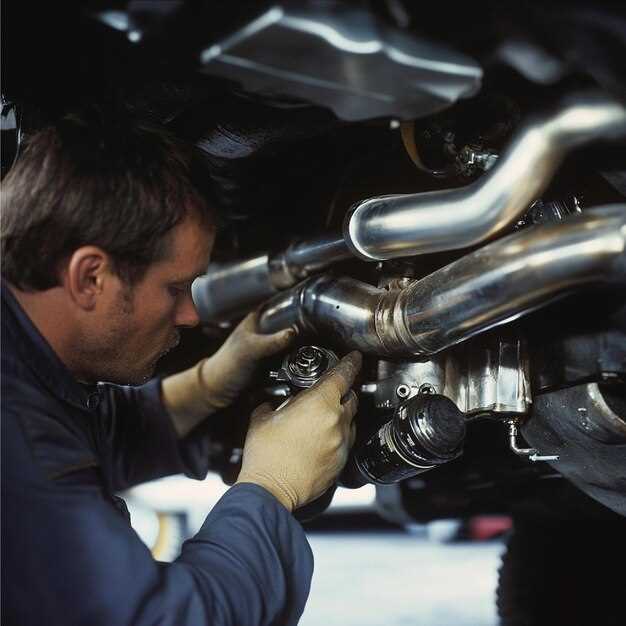
Begin by inspecting the exhaust system for visible signs of damage, such as rust, holes, or loose connections. Start at the exhaust manifold and work your way down to the tailpipe. A thorough visual inspection, combined with listening for any hissing or loud noises while the engine is running, can help pinpoint the leak’s location.
Step 2: Gather Required Tools and Materials
For the repair, collect necessary tools including a jack and jack stands, wrenches, a socket set, a screwdriver, and safety glasses. Additionally, acquire exhaust repair tape, sealant, or replacement parts depending on the severity of the leak.
Step 3: Prepare the Vehicle
Park your Toyota on a flat surface and engage the parking brake. If needed, raise the vehicle using a jack and secure it with jack stands to access the exhaust system safely. Always wear safety gear when working underneath a vehicle.
Step 4: Remove Damaged Sections
If you’ve identified a broken pipe or damaged component, carefully disconnect it using the appropriate tools. Be cautious with rusted bolts, as they may require penetrating oil to ease removal. If replacing parts, ensure you have the correct replacements for your specific Toyota model.
Step 5: Clean the Area
Before applying any repair materials or installing new parts, clean the surfaces around the leak thoroughly. Remove any rust, debris, or old sealant to ensure a strong bond when applying new materials.
Step 6: Apply Repair Material or Install Replacement Parts
If using exhaust repair tape or sealant for smaller leaks, wrap or cover the damaged area according to the product instructions. For larger ruptures, install the new part securely, ensuring all connections are tight to prevent future leaks and noise.
Step 7: Test the Repair
Once the repair is complete, start the engine and allow it to idle. Listen carefully for any lingering noise that may indicate a remaining leak. If everything sounds normal, check for leaks by carefully feeling around the repaired area for escaping exhaust gases.
Step 8: Lower the Vehicle and Clean Up
After confirming that the exhaust leak is fixed, lower the vehicle back to the ground if you elevated it. Clean up your workspace and properly dispose of any waste materials. Regular maintenance checks can help prevent future exhaust issues.
Tools and Materials Needed for DIY Toyota Exhaust System Repair
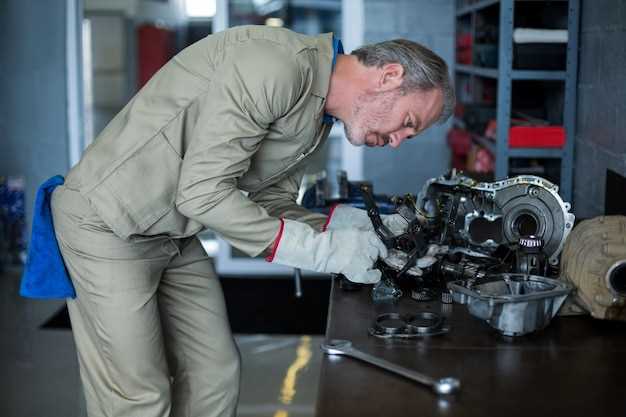
When undertaking a DIY repair of your Toyota’s exhaust system, having the right tools and materials is crucial to ensure a successful fix. This will help you manage noise issues effectively and restore your vehicle’s performance.
First, you will need basic hand tools including a socket set, wrenches, and screwdrivers. These are essential for removing and tightening bolts and clamps that secure the exhaust components. A ratchet and extension bar will also assist in reaching tight spaces.
Next, a hacksaw or exhaust cutting tool can be beneficial for cutting through damaged pipes or mufflers. If you are replacing parts, ensure you have a proper exhaust pipe cutter if the situation requires precise cuts.
Jack stands and a hydraulic jack are important for elevating your Toyota securely. This allows for better access to the exhaust system beneath the vehicle. Always prioritize safety by using jack stands to prevent accidental collapse.
Additionally, you will need replacement parts such as exhaust pipes, mufflers, gaskets, and clamps. It’s important to choose OEM (Original Equipment Manufacturer) parts or high-quality aftermarket options to maintain the integrity of your exhaust system.
For sealing connections, exhaust adhesive tape or paste will help prevent leaks, which can contribute to unwanted noise. A wire brush or cleaning solvent is also handy for removing rust or debris from old connections before installation.
Consider having a torque wrench on hand to ensure that all bolts are tightened to the manufacturer’s specifications, reducing the chance of future exhaust leaks.
Lastly, using safety gear such as gloves and safety glasses is essential while working on your exhaust system. This will protect you from sharp edges and any debris that may cause injury.
With these tools and materials at your disposal, you’ll be well-equipped to handle your Toyota exhaust system repair effectively and efficiently.